How to Design a Chatbot That Looks Good on Your Website

Rajni
Last updated on February 19, 2026

A poorly designed chatbot can hurt trust and engagement, while a branded, well-styled one feels like a natural part of your website. This blog shows how to customize your chatbot’s look, tone, and placement without code so it blends seamlessly with your brand and improves user experience.
A chatbot is often the first interaction visitors have with your business. If it looks out of place or sounds robotic it damages trust before you even start.
Customisation plays a key role in making the chatbot feel like a natural part of your website, not a separate tool.
The result is a chatbot that feels disconnected with brand, and easily ignored.
In this blog, we will show you how to design a chatbot that matches your brand perfectly without needing any coding. You’ll learn to Design a Chatbot That matches your website’s Look and Feel.
Your chatbot isn’t just a support tool it’s part of your brand identity.
If it doesn’t match your website visually and verbally, it can cause:
| Problem | Impact on Business |
|---|---|
| Visual inconsistency | Makes users question if the chatbot is official |
| Distracted attention | Shifts focus away from your key products |
| Higher cognitive load | Makes users think harder before acting |
| Lower engagement rates | Reduces lead capture and sales conversions |
| Weakened brand perception | Gives an unprofessional impression |
Good design isn’t just about looking nice it’s about building trust from the very first interaction.
Here’s how successful businesses align chatbot design with their brand:
✅ Result: Feels like part of the website, not an add-on.
✅ Result: Chat feels like a natural extension of the brand’s communication style.
✅ Result: Sets clear expectations and builds trust immediately.
✅ Result: Reduces friction and improves relevance.
✅ Result: Users feel zero disruption when interacting.
You can customise your chatbot’s design easily with YourGPT’s no-code interface.
Here’s how to style your chatbot in just a few steps:

Login to your account or sign up for a new account account.
Visit chatbot.yourgpt.ai to access your chatbot dashboard and select your chatbot from your list.

Click on Widget Settings. This is where you can edit the full look and feel of your chatbot without any coding.
Inside the widget settings, you can:
1. Pick a Layout: You can choose Between Tab & Chat Layout.
2. Change Colors: Set background, button, and text colours to match your brand.
3. Set a Welcome Message: Add a greeting that fits your brand voice.
4. Adjust Chatbot Position: Choose bottom-right (default) or bottom-left if you need more space.
5. Enable Follow-up Buttons: You can enable follow-up buttons for like, dislike and request human operator.
6. Use Triggers: When needed you can use triggers to trigger based on activity.
7. Preview on All Devices: Check how your chatbot looks on desktop, tablet, and mobile before going live.

You can fully style your chatbot widget with Custom CSS inside YourGPT — without needing to be a developer.
Here’s how to do it step-by-step:
You have two options:
You don’t need advanced CSS skills basic styling knowledge is enough to start.

If you’re using a pre-built style:
For custom styles, prepare your CSS using scoped selectors. Ensure you test it outside first if making complex changes.

Once you have the CSS code, you can apply it to your chatbot widget in just a few clicks.
Your changes will be live instantly, and you can preview the widget on your site.

Once applied, visit your live site and check:
Cross-device testing ensures you’re not introducing usability issues with your styling. If you want to build your own theme you can build your own.
If you want something even more unique? You can skip the templates and write your own CSS from scratch.
| Element | CSS Selector |
|---|---|
| Chat widget container | .yourgpt-widget |
| Header bar | .yourgpt-header |
| User message bubbles | .yourgpt-user-message |
| Bot message bubbles | .yourgpt-bot-message |
| Input field | .yourgpt-input |
| Send button | .yourgpt-send-button |
Example CSS Snippets are on our GitHub provide, you can use these templates as reference and customise.
These examples show you how to change the widget’s shape, style user messages, and add hover effects to buttons.
If you want to customise beyond styling for example, adding animations, modifying interactions, or building fully dynamic themes use the YourGPT Chatbot SDK.
The SDK gives you programmatic access to:
This way, you can build advanced chatbot experiences that feel completely integrated with your site or app.

Good design isn’t just about aesthetics it’s about making your chatbot easy to use and building user confidence. Here’s how to make smart styling choices that enhance both form and function:
1. Stick to Your Brand : Use your official brand colors and fonts. Avoid mixing styles that don’t belong. When your chatbot looks like the rest of your site, it feels like a natural part of your business.
2. Make Everything Easy to Read : Keep text clear and buttons spaced out. Chat bubbles should have enough padding so nothing feels tight or hard to read especially on phones.
3. Use Subtle Effects, Not Flashy Ones : Simple hover effects or fades help guide the user. Loud animations or quick movements can slow things down or make the chatbot harder to use.
4. Design for Everyone : Use strong color contrast so text stands out. Make sure buttons are big enough to tap. If your design is hard to use, people won’t use it.
5. Check It on All Devices : Good customisation ensures your chatbot looks and works consistently across all platforms mobile, tablet, and desktop.
Design issues in chatbot widgets can affect readability, usability, and consistency. Here are some common mistakes and practical ways to fix them:
| Mistake | Why It’s a Problem | How to Fix |
|---|---|---|
| Low-contrast colors | Text becomes hard to read and may fail accessibility checks | Use high-contrast combinations for text, background, and buttons |
| Tiny or crowded buttons | Difficult to tap accurately on smaller screens | Increase padding and ensure buttons meet touch size guidelines |
| Fonts that don’t match your site | Creates a visual disconnect between chatbot and website | Use the same font family and weight as your site for consistency |
| Overuse of animations | Can distract users or slow interactions | Limit to simple transitions; avoid constant movement |
| Ignoring mobile layout | Layout breaks or becomes hard to use on phones | Preview on multiple devices and adjust spacing, size, and flow accordingly |
Most websites place it in the bottom-right corner. This spot is easy to find and doesn’t cover important content. If you already have other tools on that side, try the bottom-left. Test both options to see which performs better.
Stick to your brand colors. Make sure there’s enough contrast between the text and background. This helps users read messages easily and keeps the widget aligned with the rest of your site.
Not always. If your chatbot offers general help or answers common questions, showing it on all pages can be helpful. For sales or product support, showing it only on key pages—like product, checkout, or pricing—may be more effective.
Yes. Many platforms allow you to add your logo, icon, or bot name. This helps visitors know the chatbot is part of your business and builds trust.
Use a clean design. A simple animation or message bubble can catch attention without being too loud. Avoid pop-ups that interrupt users while they browse.
You can. Emojis make messages feel friendly and easier to read. Use them where they add meaning. Avoid using too many or replacing important words with icons.
Use font sizes that are easy to read—typically 14 to 16 pixels. Keep text clear and use spacing between lines and buttons. Always check how it looks on both desktop and mobile screens.
Yes. You can choose where it shows up. Some businesses hide it during checkout or on login pages. Others only display it where users are likely to need help.
Many chatbot tools offer language settings. Some detect the user’s browser language. Others let you build flows for different languages. Choose what fits your audience.
Check your analytics. Look at how many users open the chatbot, click buttons, or start conversations. Use that data to make small design changes and test what works better.
A chatbot should feel like a natural part of your website not something separate.
When the design, tone, and layout match your brand, users are more likely to trust it and interact with it.
Small design choices like colours, fonts, button sizes, and welcome messages matter. They directly impact how users experience the chatbot and how easily they can find what they need.
With YourGPT, you don’t need coding skills or a developer to create a professional-looking chatbot. You can fully customise its appearance, set its position, adjust the welcome message, and control how it behaves all from a simple, no-code dashboard.
Whether you’re using the chatbot for support, sales, or onboarding, clear and consistent design improves both engagement and results.
It helps users get answers faster, take action sooner, and have a smoother overall experience with your brand.
You can adjust colours, switch templates, apply custom CSS, or even use the Chatbot SDK for advanced customisation without starting over or disrupting your user experience.
A well-designed chatbot isn’t just a nice addition it’s an active part of your website that supports your goals and improves how users interact with your brand.
Join thousands of businesses using AI Chatbot to automate support, boost engagement,.
No credit card required • Full access • Cancel anytime

TL;DR Business process automation with AI agents lets software plan multi-step work, call tools, and handle exceptions instead of following fixed scripts like traditional RPA. AI agents can adapt when a process changes, but that flexibility also requires clear permission boundaries, reliable data, and human oversight for consequential actions. Start with one repetitive process, document […]

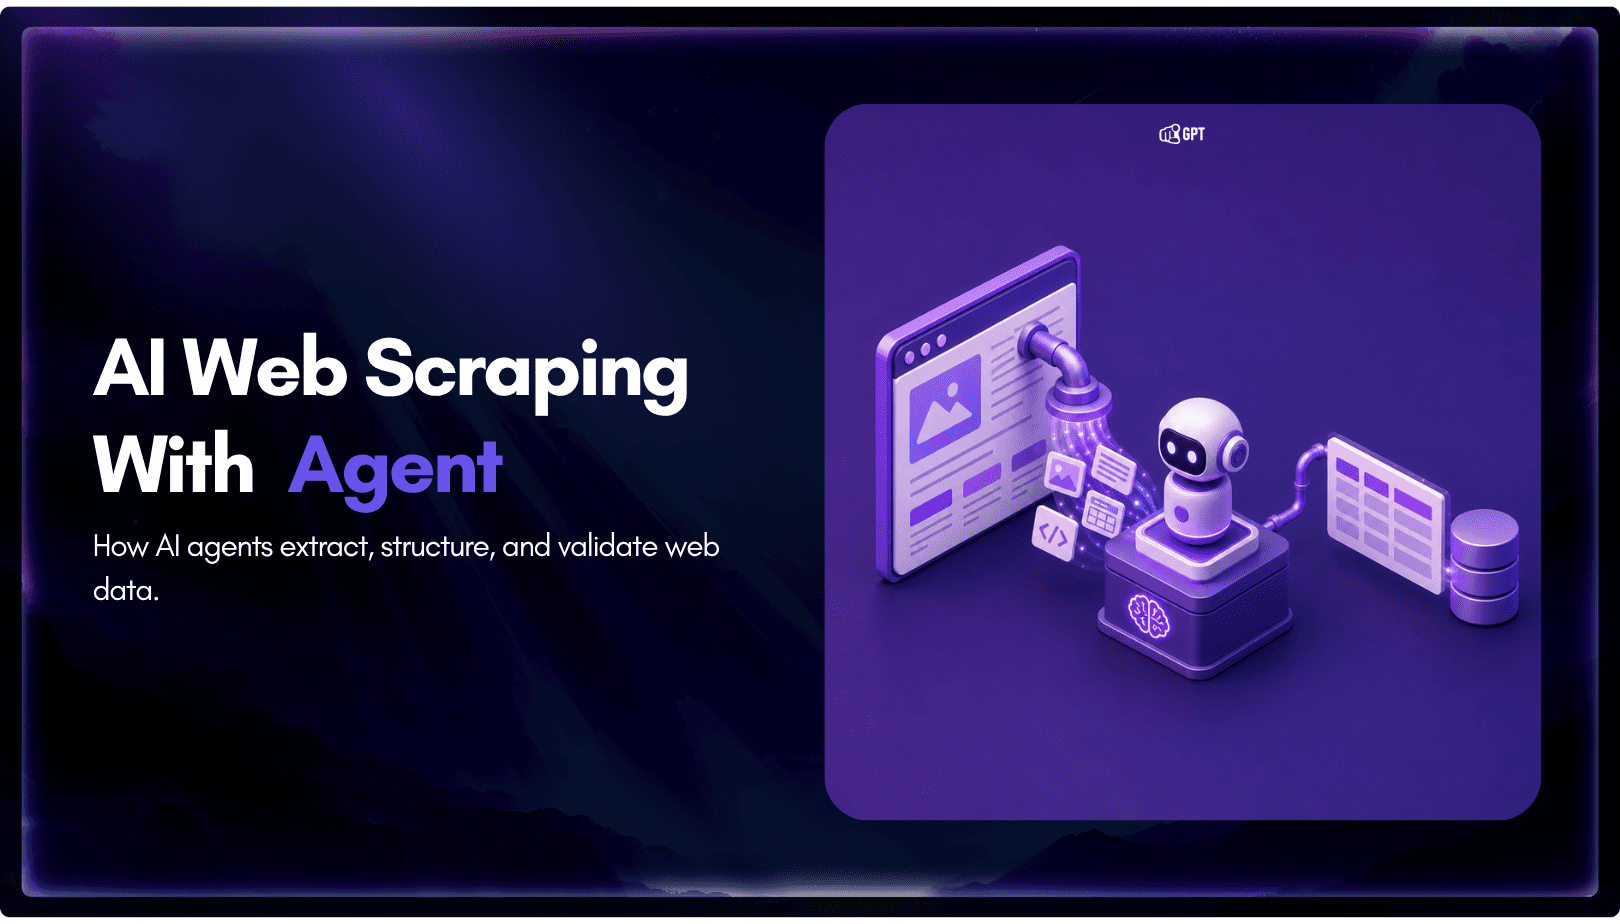
TL;DR AI web scraping replaces hardcoded selectors with an agent that reads a page, decides what matters, and returns structured output, even after the layout changes. Script-based scraping is being layered with agent-based extraction. Scripts still fetch the page. The model decides what to keep. A fetch layer renders the page, a conversion step strips […]

TL;DR The Shift: Support bots used to answer questions. In 2026, AI agents resolve them by reading live order and carrier data, then taking direct action. They can issue refunds, update addresses, and close WISMO tickets without human involvement. The Stakes: WISMO and refund requests already account for a large share of a typical support […]
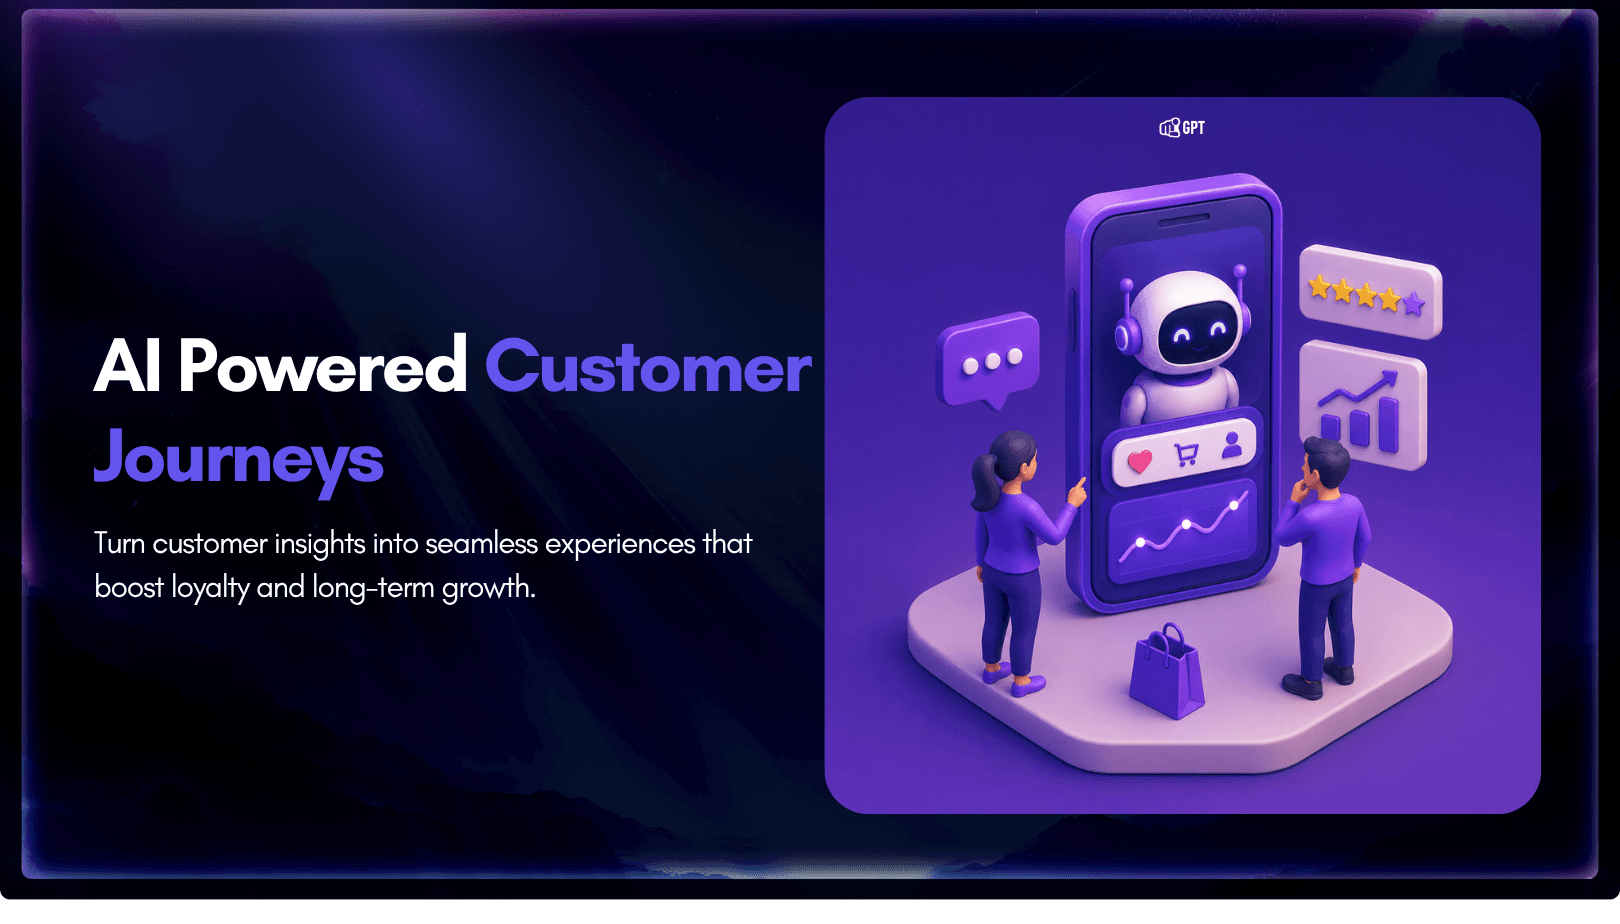
TL;DR A customer experience strategy is a documented plan for how people, process, and technology work together across every customer touchpoint, not just a support-team initiative. Strong CX optimization can drive 5 to 10 percent revenue growth and reduce costs by 15 to 25 percent within two to three years, making it an executive-level priority. […]
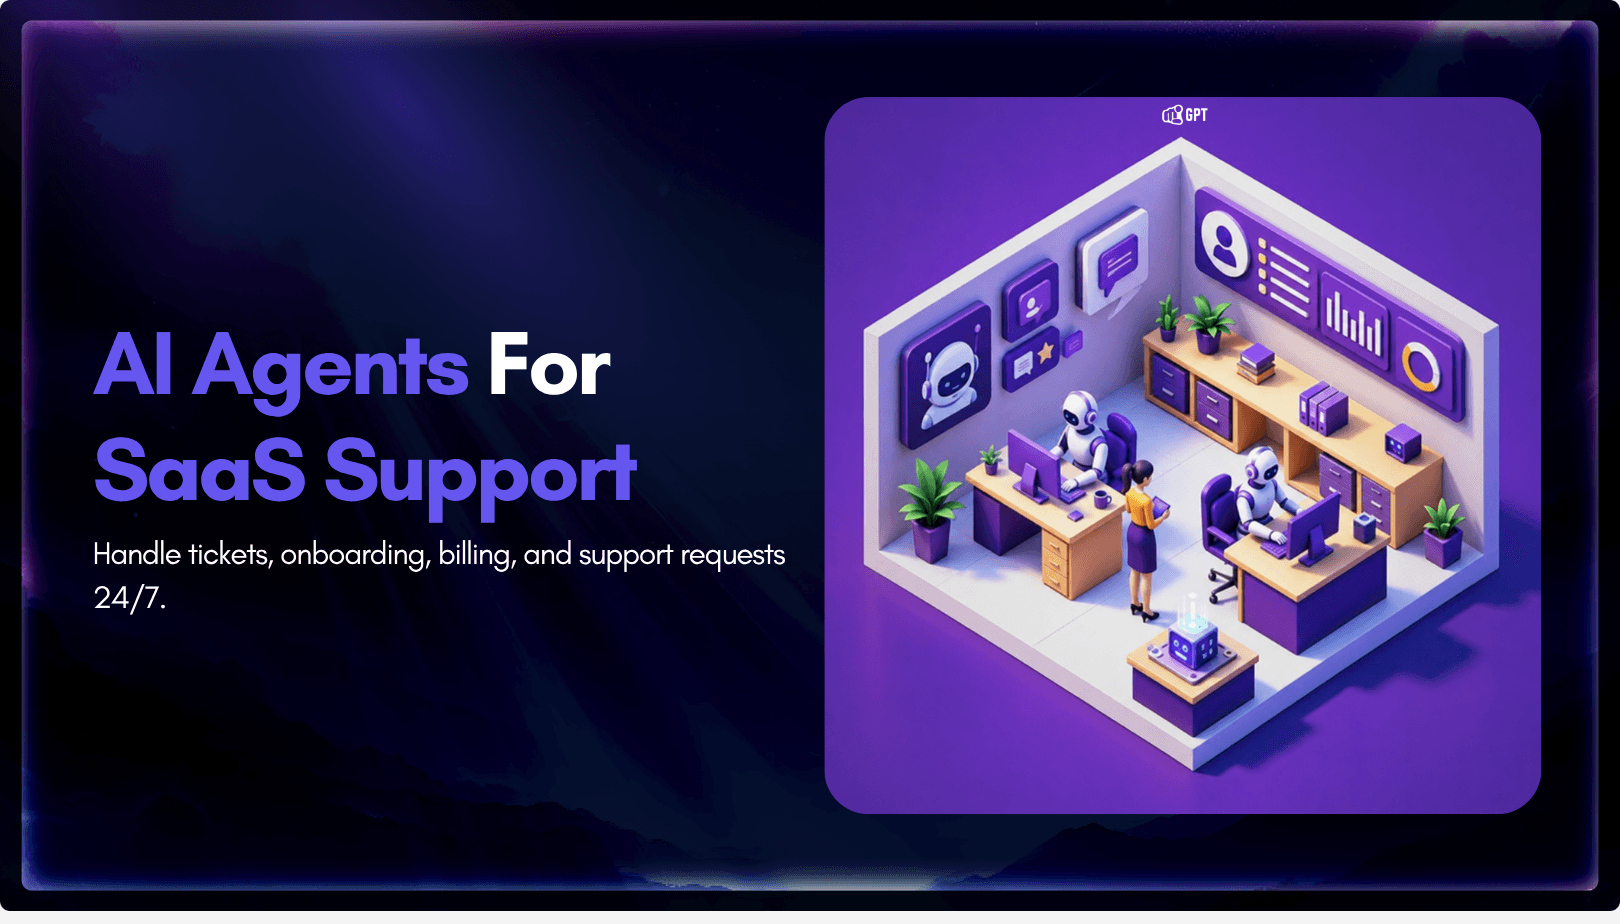
SaaS companies usually do not hit support overload because the product is failing. They hit it because the product is working. More users mean more onboarding questions, more billing confusion, more integration issues, more feature requests, more account-access problems, and more tickets arriving outside business hours. A small support team that could manage 500 customers […]
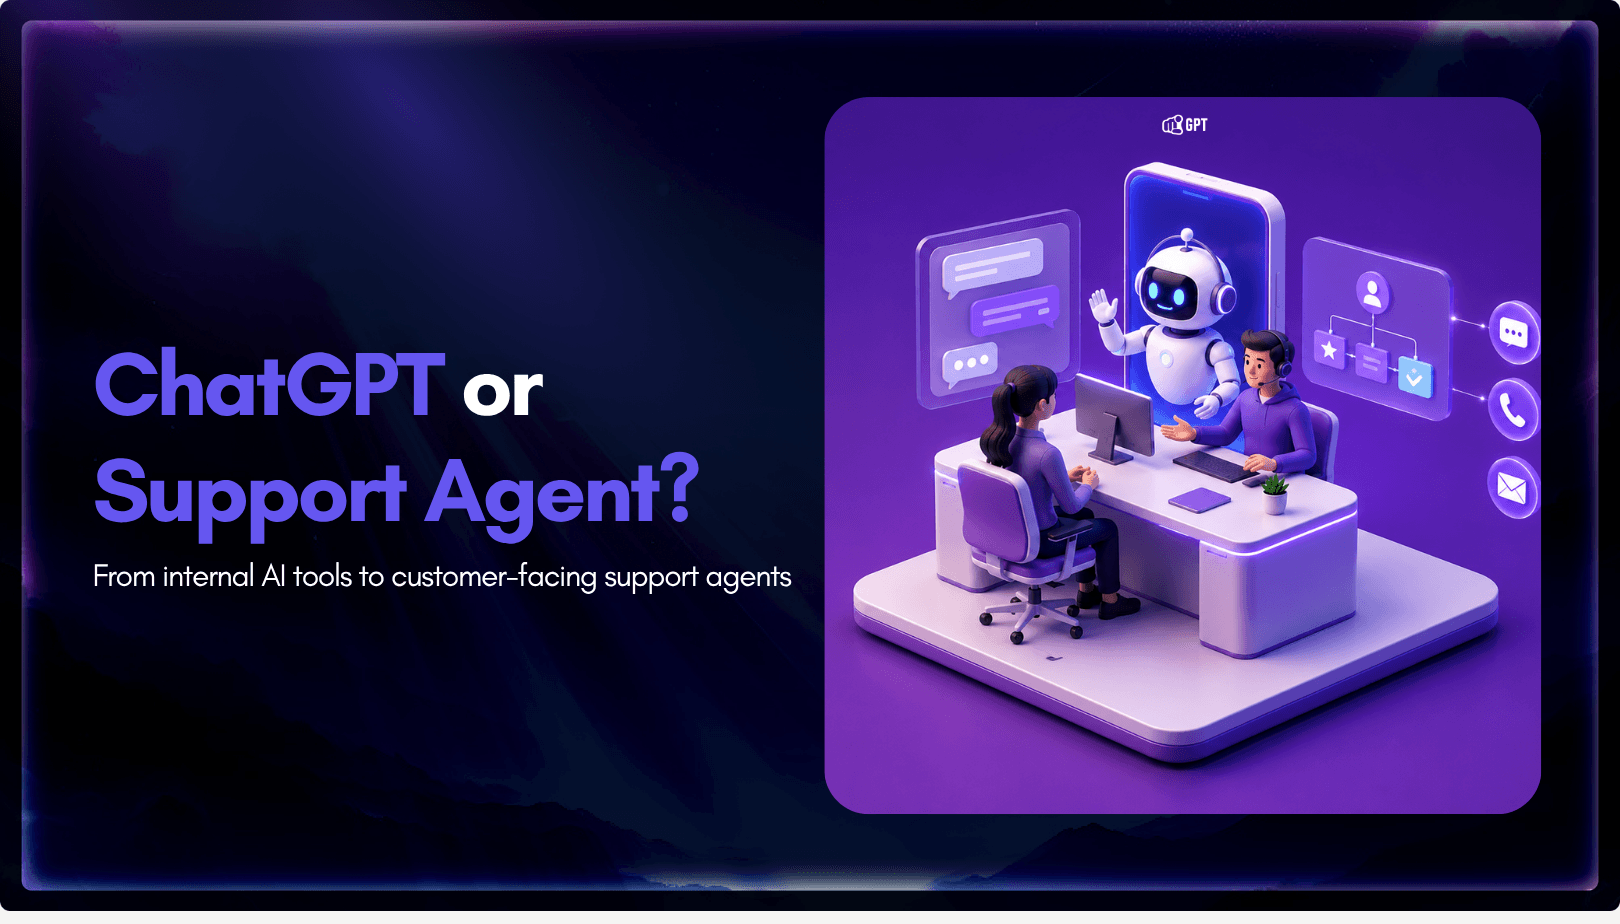
TL;DR OpenAI shipped workspace agents inside ChatGPT Business and Enterprise in April 2026, giving the product the ability to plan multi-step work and act inside connected tools. The update narrows the gap between ChatGPT and dedicated AI agents for internal work, but it does not replace customer-facing support platforms. Workspace agents live in the ChatGPT […]