How to Add a Chatbot to Ghost CMS (No Code Required)

Rajni
Last updated on November 10, 2025
Ghost is a modern publishing platform built for creators who value clarity and speed. It offers a clean writing environment, fast load times, and simple setup that keeps your focus on content.
Many Ghost creators face a problem: readers have questions, they’re busy on writing, researching, and it is hard for them to replying to the same messages every day.
Visitors often ask things. When they don’t find quick answers, most leave — costing you potential subscribers and engagement.
Instead of managing support manually, you can add an AI chatbot to your Ghost site. It answers common questions, captures leads, and helps readers around the clock without needing extra staff or plugins.
Just add a small JavaScript snippet through Ghost’s built-in Code Injection feature, and your chatbot goes live in minutes. This blog will show you:
If you want your Ghost site to be more helpful and efficient, this guide will walk you through it step by step.
Before starting, gather these items:
Note: This tutorial assumes you’ve already created and configured your chatbot. If you haven’t set up your AI agent yet, you can follow along with how to create custom ai in 2 minuts.
Want to add a custom AI chatbot to your Ghost website? With YourGPT and Ghost’s built-in Code Injection feature, it only takes a few minutes—no coding, no plugins, just results.
Follow these simple steps:
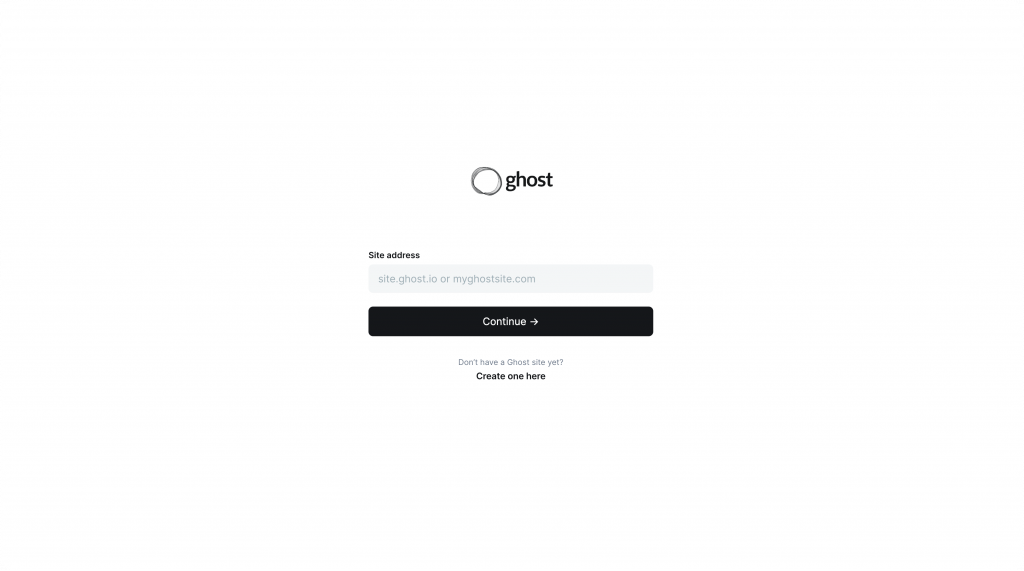
Open your web browser and go to your Ghost Admin URL. This is usually yourdomainname.com/ghost.
Log in using your email address and password. Once inside, you’ll see the Ghost dashboard with a navigation sidebar on the left. This is where all your publishing and settings happen.
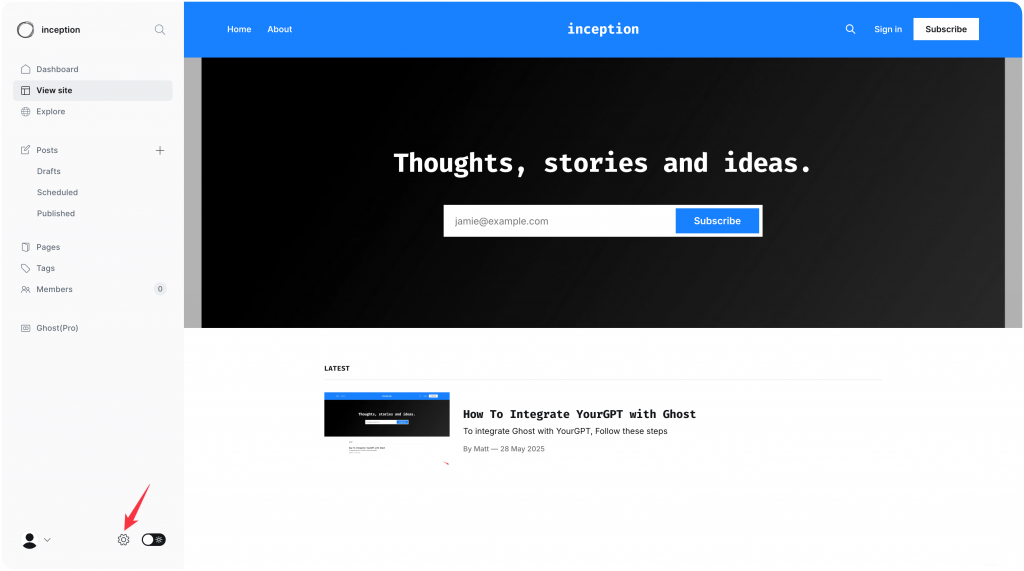
From the left sidebar, look for the Settings icon (it usually looks like a gear). Click on it to open your settings menu.
Scroll down until you find Code Injection. Click to open the Code Injection panel.
You’ll see two sections:
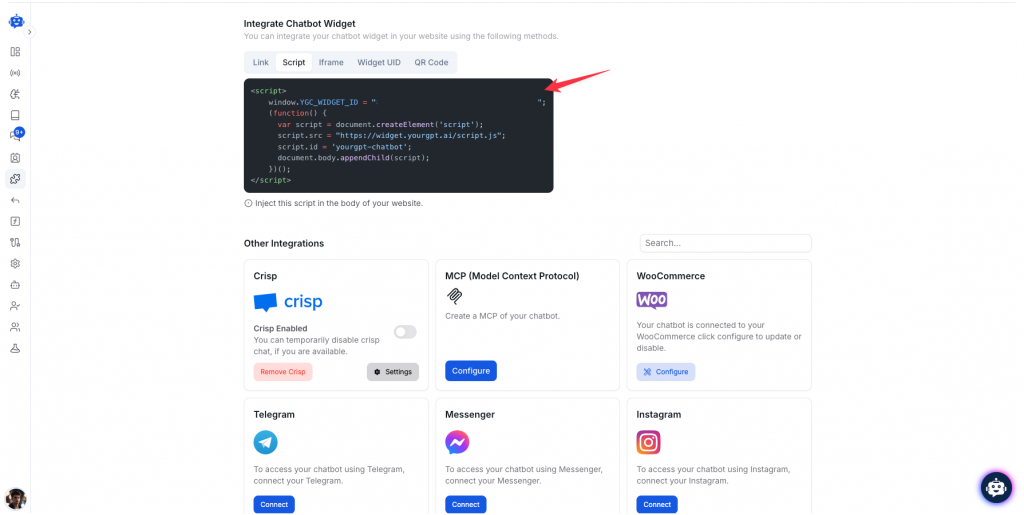
<head> tag)</body> tag)For adding a chatbot widget, we recommend using the Site Footer section because it loads after your main content, so it won’t impact page load times.
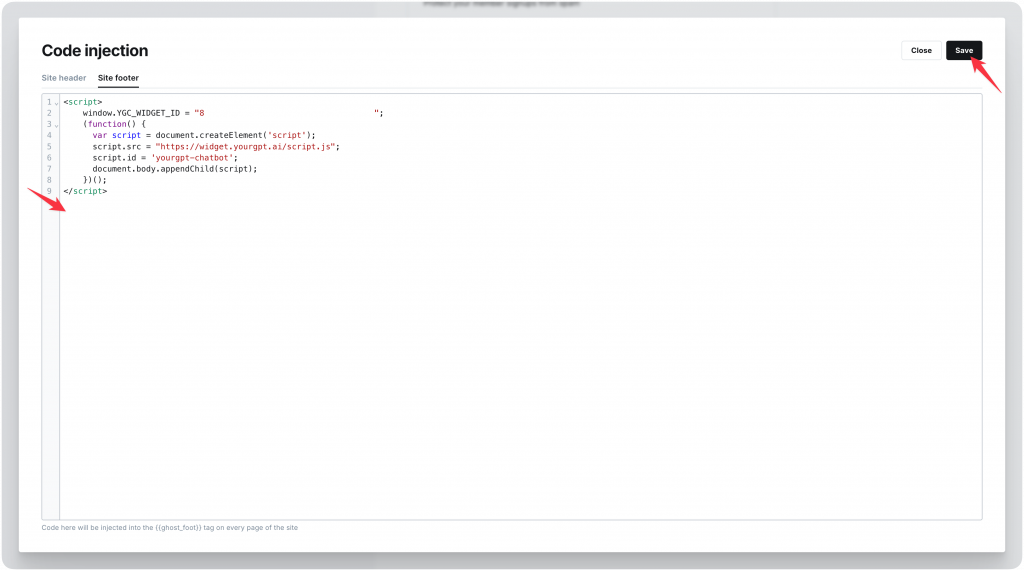
Go back to your Ghost dashboard and return to Settings > Code Injection.
Click in the Site Footer text area and paste the chatbot script you just copied.
Make sure the entire script is there and complete. Don’t add or remove any code.
At the bottom of the page, click Save. Ghost will process the change, and your chatbot will now load on every page of your Ghost website.
Open your Ghost website in a new browser tab (or refresh your existing one if you have it open).
Look for the chatbot widget—it usually appears in the bottom-right corner of your screen. You might see a small circular icon with a chat symbol.
Click on the widget to open it. Test it by asking a question. The chatbot should respond with an answer based on its training.
If the widget doesn’t appear, try:
Once you see the chatbot working, you’re done. Your Ghost site now has 24/7 AI support ready to help your visitors.
No coding knowledge is required. Ghost CMS includes a built-in Code Injection feature that lets you add JavaScript snippets without editing theme files. You simply copy the chatbot script from your platform (like YourGPT) and paste it into the Site Footer section under Settings. The process takes about 2 minutes and doesn’t require HTML, CSS, or JavaScript experience.
Modern chatbot scripts have minimal impact on page speed when installed correctly. Most chatbot widgets are 20-50KB compressed and load asynchronously, meaning they don’t block your page content from rendering. When you place the script in Ghost’s Site Footer (as recommended), it loads after your main content is visible to users. To verify performance, test your site with Google PageSpeed Insights before and after installation. You should see less than 0.1 second difference in load time.
Training your chatbot involves uploading your content to the chatbot platform’s knowledge base. Most platforms let you add data in three ways: paste your Ghost site URL for automatic crawling, upload individual blog posts or documents, or manually add FAQs and common questions. For best results, start by uploading your 10-15 most popular posts, your about page, and answers to frequently asked questions like subscription info and contact details. The AI processes this content and uses it to generate relevant responses. You can update the knowledge base anytime you publish new content.
Yes, you have two deployment options. For site-wide coverage, add the script to Site Footer in Code Injection, which displays the chatbot on every page. For selective placement, use Ghost’s post-level Code Injection feature by opening any post, clicking the settings gear icon, scrolling to Code Injection, and adding the script there. This works well if you only want the chatbot on specific articles, landing pages, or high-traffic posts. You can also customize the widget’s visual position (bottom-right, bottom-left, etc.) through your chatbot platform’s dashboard settings.
The chatbot works with both Ghost(Pro) managed hosting and self-hosted Ghost installations, provided you’re running Ghost version 4.0 or later. The Code Injection feature is available in all Ghost plans, including the basic Starter plan on Ghost(Pro). To check your version, go to Settings and scroll to the bottom where you’ll see “About” with your current Ghost version number. If you’re running an older version on a self-hosted setup, you’ll need to update Ghost before installing the chatbot.
Yes, most AI chatbot platforms let you create lead collection forms within the chat interface. You can configure the chatbot to ask for email addresses during conversations or prompt visitors to subscribe when they ask specific questions. Some platforms offer direct integration with Ghost’s member system through API connections, automatically adding subscribers to your Ghost newsletter list. Alternatively, you can set up the chatbot to collect emails and export them manually, or connect through tools like Zapier to sync chatbot leads with Ghost memberships. This turns your chatbot into both a support tool and a lead generation system.
If you’ve been handling reader questions manually or ignoring them because you’re too busy writing, a chatbot fixes that without adding to your workload.
The setup takes less than 10 minutes. You paste one script into Ghost’s Code Injection, test it on your site, and you’re done. The chatbot handles repetitive questions about subscriptions, contact info, and navigation while you focus on publishing.
Is it perfect out of the box? No. You’ll need to train it with your actual content and adjust responses based on real conversations. That takes about 20 minutes upfront, then occasional updates as you publish new posts.
The principal advantage for site owners is improved response time for common queries, contributing to a more efficient support workflow and elevated user experience. Post-launch, periodic review of conversation logs allows for incremental improvements, ensuring alignment with evolving site content and visitor needs.
Join thousands of business using AI to automate support, sales and boost engagement.
No credit card required • Full access • Cancel anytime
TL;DR Business process automation with AI agents lets software plan multi-step work, call tools, and handle exceptions instead of following fixed scripts like traditional RPA. AI agents can adapt when a process changes, but that flexibility also requires clear permission boundaries, reliable data, and human oversight for consequential actions. Start with one repetitive process, document […]

TL;DR AI web scraping replaces hardcoded selectors with an agent that reads a page, decides what matters, and returns structured output, even after the layout changes. Script-based scraping is being layered with agent-based extraction. Scripts still fetch the page. The model decides what to keep. A fetch layer renders the page, a conversion step strips […]

TL;DR The Shift: Support bots used to answer questions. In 2026, AI agents resolve them by reading live order and carrier data, then taking direct action. They can issue refunds, update addresses, and close WISMO tickets without human involvement. The Stakes: WISMO and refund requests already account for a large share of a typical support […]
TL;DR A customer experience strategy is a documented plan for how people, process, and technology work together across every customer touchpoint, not just a support-team initiative. Strong CX optimization can drive 5 to 10 percent revenue growth and reduce costs by 15 to 25 percent within two to three years, making it an executive-level priority. […]
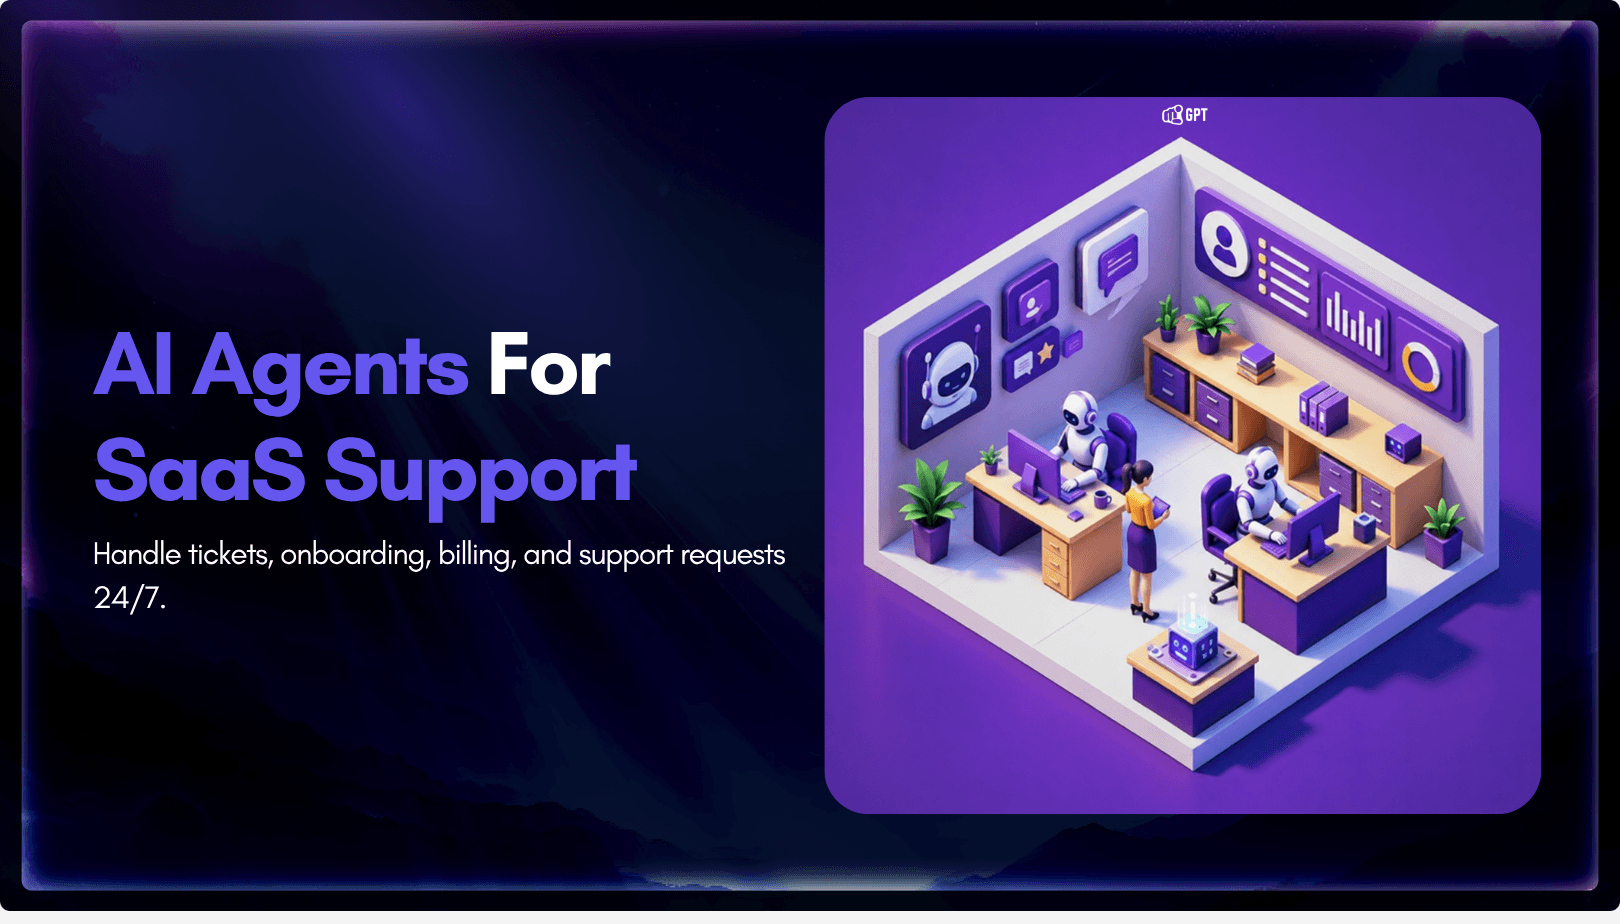
SaaS companies usually do not hit support overload because the product is failing. They hit it because the product is working. More users mean more onboarding questions, more billing confusion, more integration issues, more feature requests, more account-access problems, and more tickets arriving outside business hours. A small support team that could manage 500 customers […]
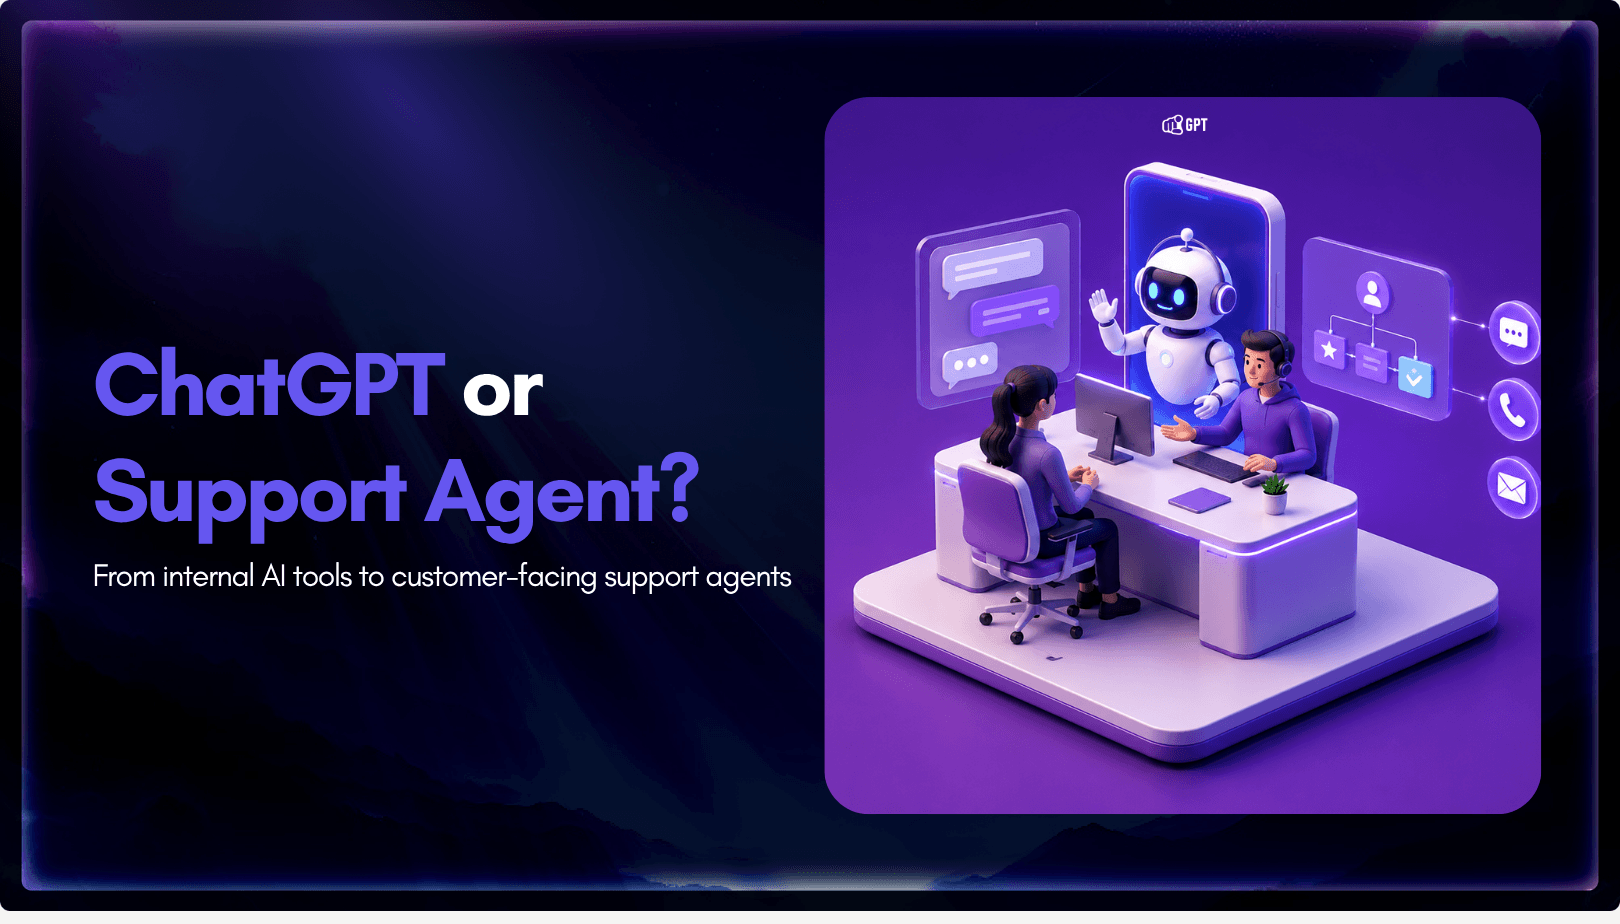
TL;DR OpenAI shipped workspace agents inside ChatGPT Business and Enterprise in April 2026, giving the product the ability to plan multi-step work and act inside connected tools. The update narrows the gap between ChatGPT and dedicated AI agents for internal work, but it does not replace customer-facing support platforms. Workspace agents live in the ChatGPT […]